


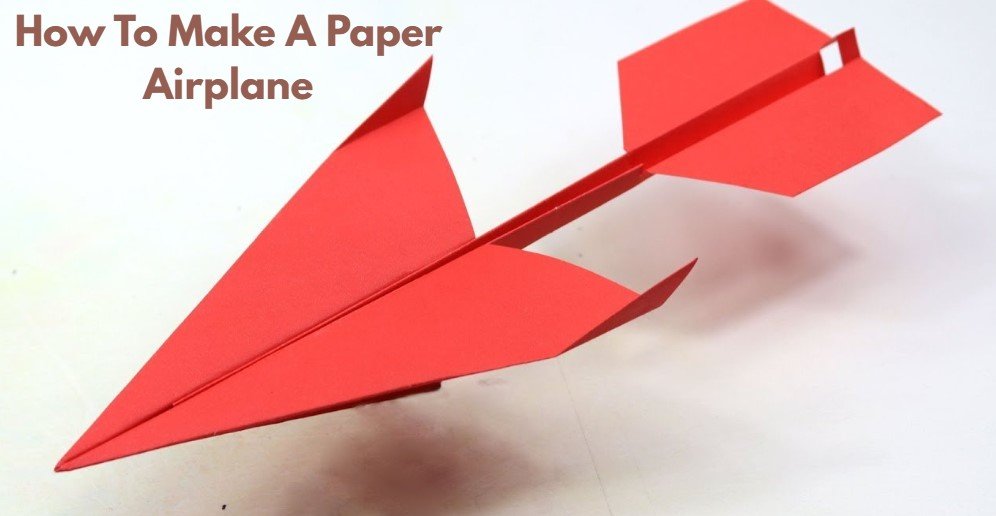
Making a paper airplane is a fun and simple activity that people of all ages can enjoy. Whether you’re a beginner or an experienced paper airplane enthusiast, learning how to fold a paper airplane can be a rewarding and satisfying experience. In this article, we’ll walk you through the process of making a classic paper airplane that flies smoothly and glides gracefully through the air.
Materials You Need
Before you get started, gather the following materials:
- A piece of paper (standard 8.5 x 11 inches works best)
- A flat surface for folding (like a table or desk)
Step 1: Start with a Rectangle
Begin with a standard rectangular sheet of paper. Hold the paper with the longer side facing you, ensuring it’s flat and free from wrinkles or creases.
Step 2: Fold the Paper in Half Lengthwise

Now, take the top edge of the paper and fold it down to meet the bottom edge. Make sure the two edges are aligned perfectly. This will create a crease down the center of the paper. After folding, unfold the paper so that you can see the crease.
Step 3: Fold the Corners
Next, fold both of the top corners toward the center crease. You should aim to line the edges up with the crease in the middle. This will form a triangle at the top of the paper. Press down on the folds to create sharp creases.
Step 4: Fold the Top Triangle Down
Once you’ve folded the top corners, you should have a triangle at the top of the paper. Now, fold the tip of the triangle down toward the bottom edge of the paper, covering the previous folds. This creates a rectangular shape at the top, and it helps stabilize your plane.
Step 5: Fold the Corners Again
Now it’s time to fold the two corners at the top of the paper once more. Take each of the new top corners and fold them inward towards the center crease. Again, make sure the edges align with the crease for a clean, symmetrical fold. This will create a more narrow shape for your plane.
Step 6: Fold the Paper in Half
With the triangle-like shape complete, fold the entire paper in half along the original crease, with the folds on the outside.
Step 7: Create the Wings
Now, it’s time to make the wings! Take the top edge of one side of the folded paper and fold it down toward the bottom edge, creating a wing. Repeat the same fold on the other side, making sure both wings are even. Make sure the wings are symmetrical to ensure a balanced flight.
Step 8: Fine-Tune Your Paper Airplane
Once your airplane is folded, you can make some adjustments for better flight. You can slightly bend the wings upward or adjust the tips to make the plane fly farther or smoother. If you’re looking for a longer flight time, try to adjust the angle of the wings slightly upward.
Step 9: Test and Fly!
Your paper airplane is now ready to fly! Find a clear space, like a hallway or an open room, and give your plane a gentle toss. You can experiment with different throwing techniques, such as a strong push for speed or a soft toss for a more leisurely glide.
Tips for a Better Flight
- Paper Quality: Thicker paper tends to fly better than thin paper, but the weight can also affect its speed and distance. Experiment with different types of paper to find what works best.
- Wing Angles: Adjusting the angles of your wings can help control your airplane’s speed and distance. A slight upward tilt can help it glide smoothly.
- Add Folds for Stability: If your airplane tends to veer off course, try adding small folds at the back of the wings to increase stability.
- Try Different Designs: Once you’re comfortable with the basic design, try experimenting with different folding techniques to create unique designs and see how they perform!
Conclusion
Making a paper airplane is not only a great way to pass the time, but it can also help improve hand-eye coordination and foster creativity. Whether you’re competing to see who can make the plane fly the farthest or simply enjoying the process, making paper airplanes is a fun and engaging activity. So gather some paper, follow these easy steps, and start flying!
For more updates visits: OPEN POSTS


